GraphicsMagick in FileMaker, part 5
| 🎄 |
| 5 of 24 |
Welcome to the 5th door of our advent calendar. In this advent calendar I would like to take you on a journey through the GraphicsMagick component in December. Every day I will introduce you to one or more functions from this component. In this component you will find functions with which you can analyze images, convert them, change them with filters, draw them and much much more. In the end, you too can take the magic of GraphicsMagick to your images. I wish you a lot of fun in the process.
Today I would like to show you how you can scale an image according to your wishes. For this we use the GMImage.Scale function. In the parameters you have to enter the reference and a geometry. The geometry can look like the geometry we already know (width x height), but we can now also define other things in the geometry and are not limited to a fixed size of the image. So that you can try it yourself we have created a field in the sample file (This will be available on December 24) in which you can enter the geometry to test it. The script looks like this. We always load a fresh image from a file and then scale it with the function. In our container, the image is then scaled, we save the image there as usual and release the reference again.
Set Variable [ $GM ; Value: MBS("GMImage.NewFromFile"; "/Users/sj/Desktop/abc.png") ]
Set Variable [ $r ; Value: MBS( "GMImage.Scale"; $GM; GraphicsMagick Advent::GeometrieScal ) ]
Set Field [ GraphicsMagick Advent::Image ; MBS( "GMImage.WriteToContainer"; $GM ; "abc.png" ) ]
Set Variable [ $r ; Value: MBS( "GMImage.Release"; $GM ) ]
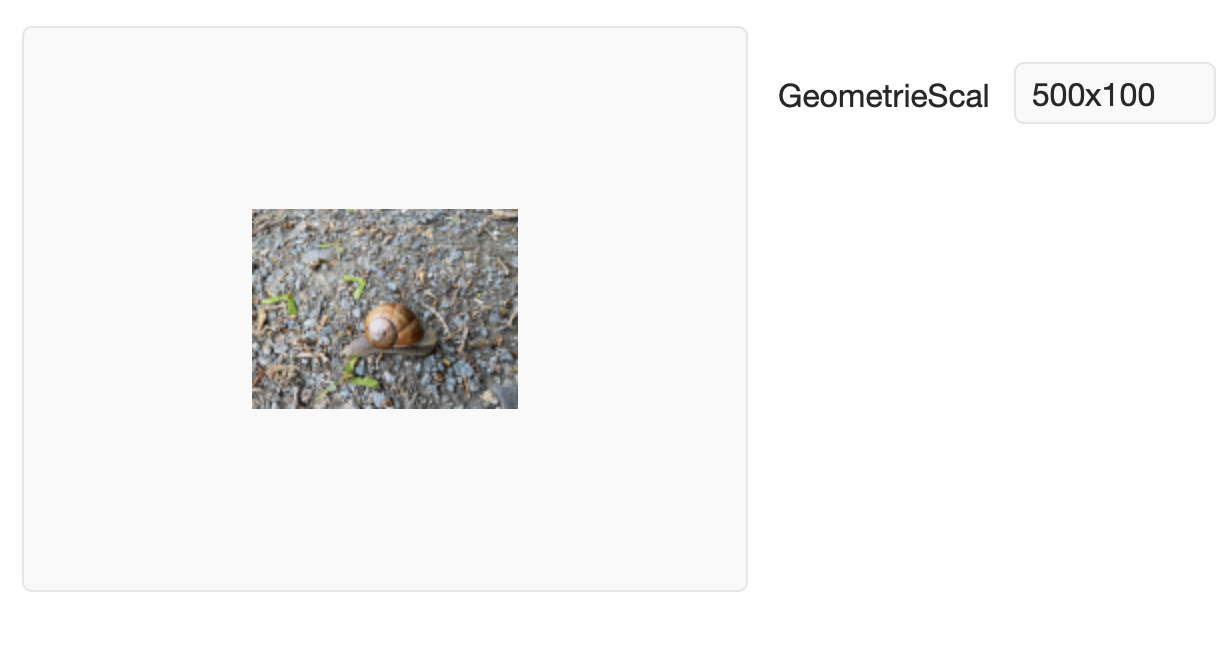
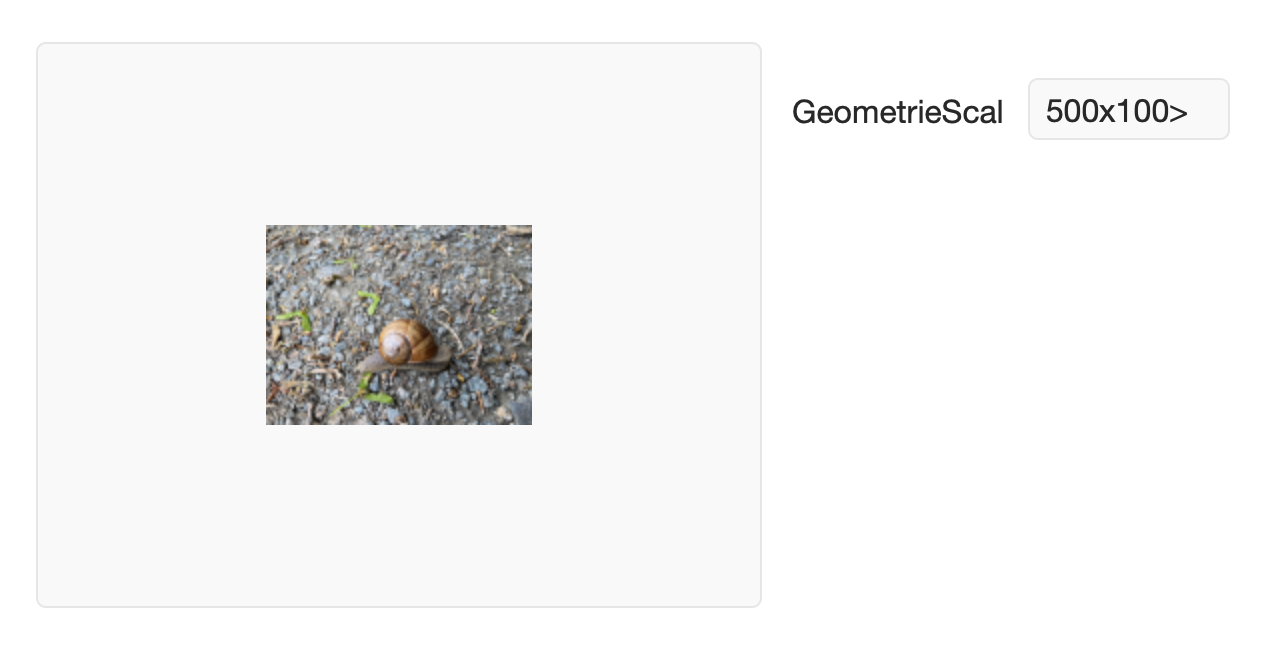
Let's first try the geometry we already know. I have entered 500x100 in the text field. The image is then scaled so that the smaller of the two values is assumed, so the image gets a height of 100 and the width is scaled proportionally. For example, if we were to specify 50 for the width and 100 for the height, then the image would adjust to the 50 and scale the height proportionally.
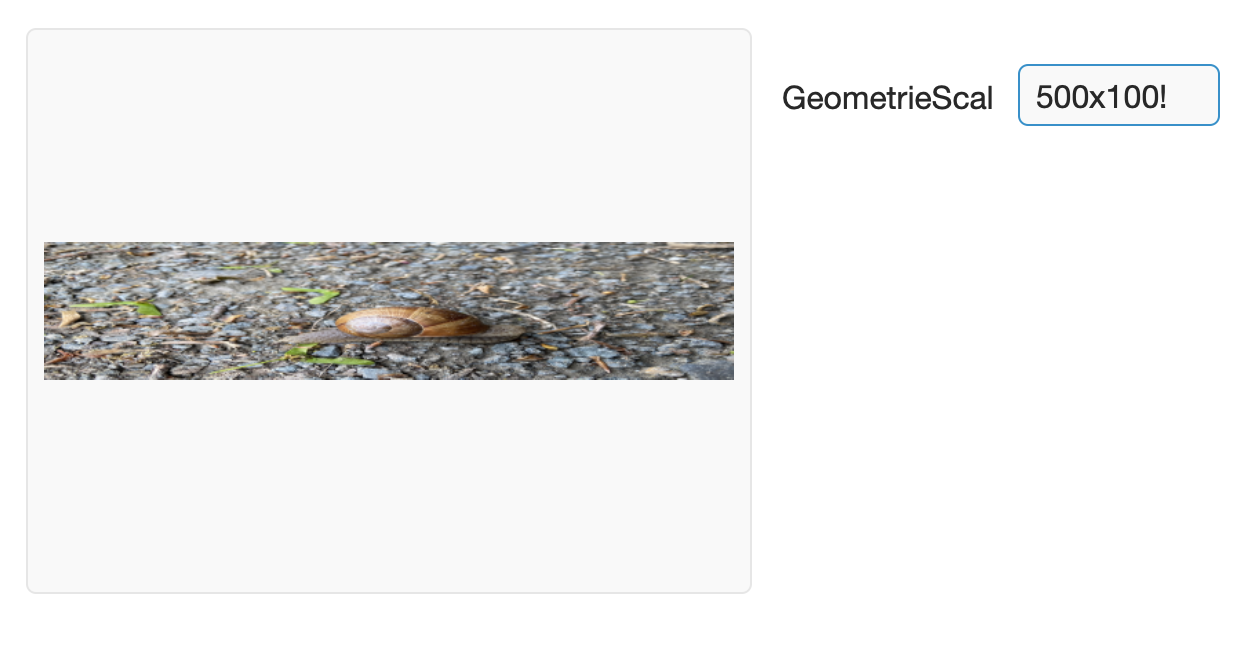
What do we do now, if we really want to bring the picture exactly to the size, without keeping the proportions? In this case we add an exclamation mark at the end. This means that the image will be scaled exactly to this size.
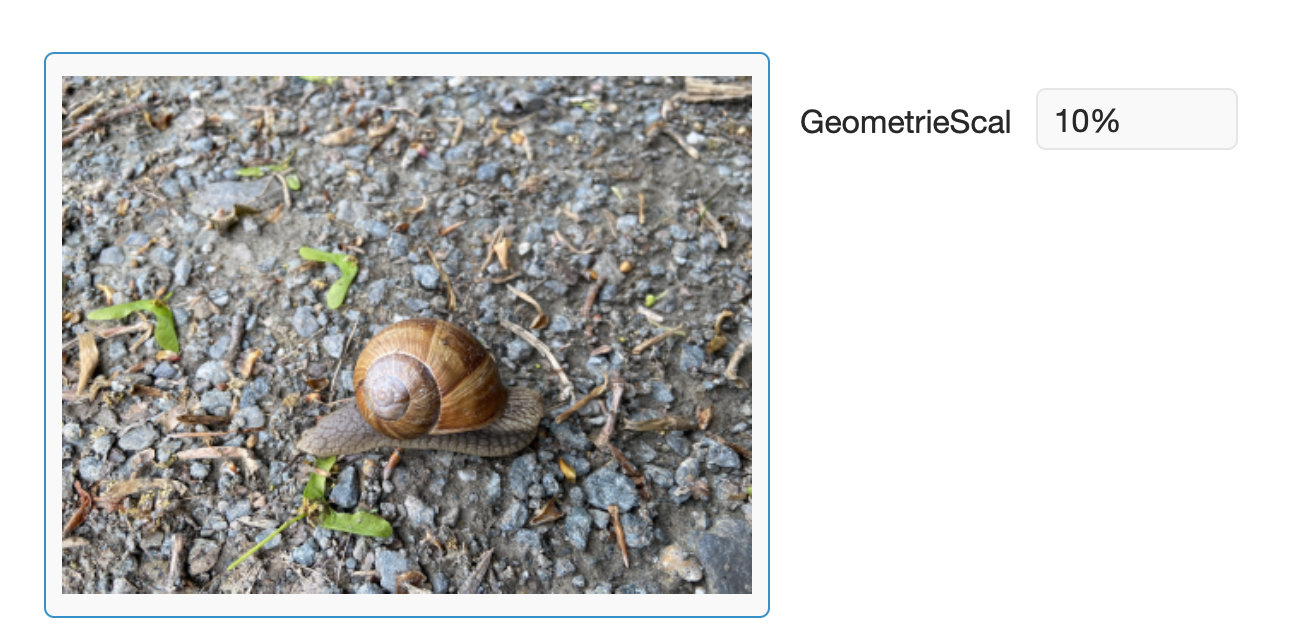
We can work not only with fixed values but also with percentage values. For example, if we want the side lengths to be only 10% of the actual lengths, we enter 10% here. Both sides are then only 1/10 of the actual size. If we have an image with the dimensions 4032x3024, the image will be 403x302. With one value the proportions are kept.
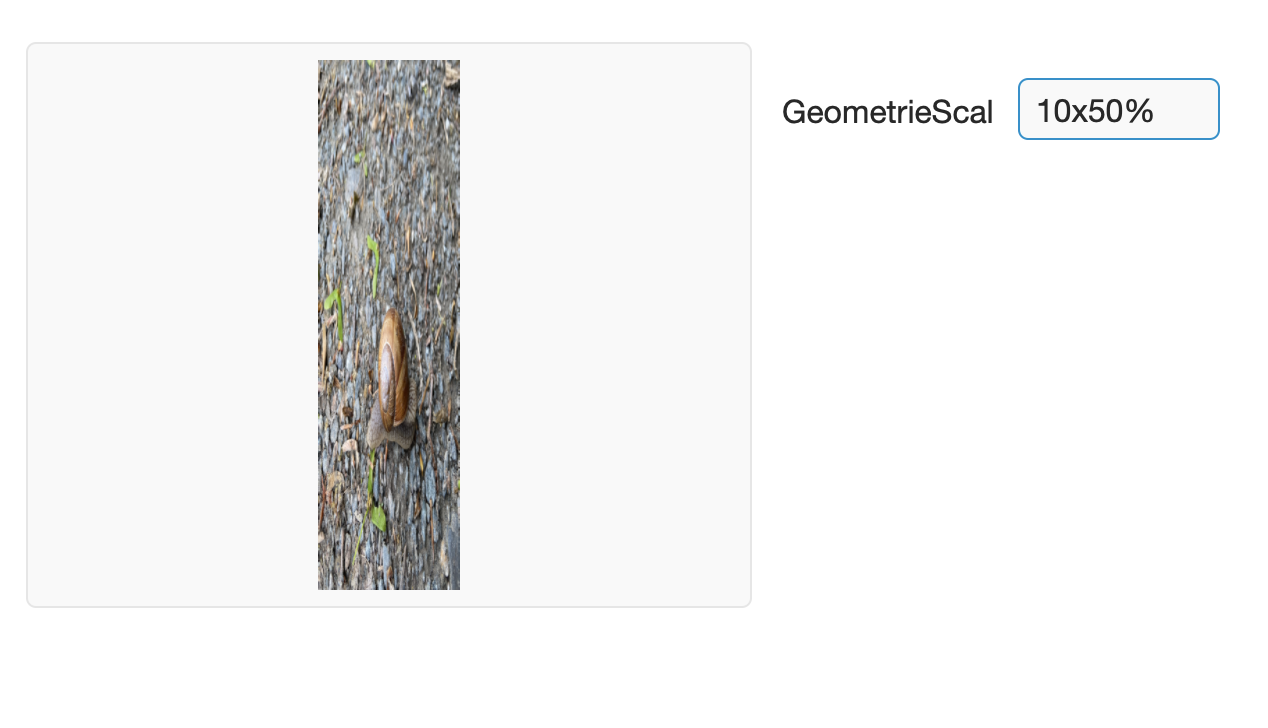
However, we can also specify two values, e.g. if the image should have 10% of the original width and 50% of the original height. In this case, the proportions are not kept.
We can also specify that an image should only be scaled if it is larger or smaller than the specified geometry. For this we specify < and> at the end. If the image should be scaled to an image if it is larger than the specified large, then we specify a > sign. If the image should be scaled when it is smaller than the specified size, we take a < sign. Our original is 4032x3024 so the image will be scaled if we define the geometry as: 500x100>.
I hope your pictures get into shape with this multifaceted function. Be there again tomorrow when everything revolves around the image again ![]()