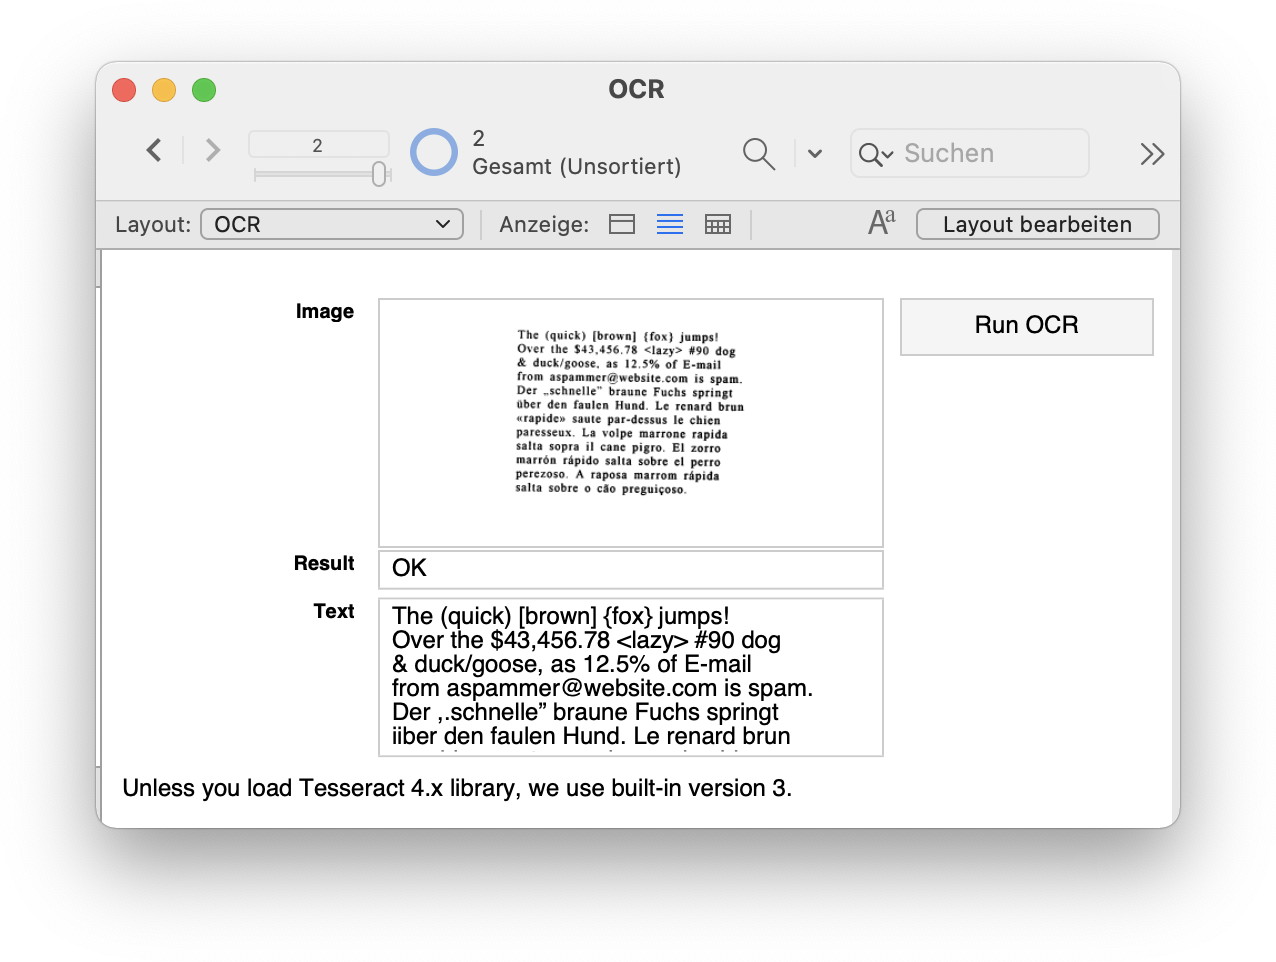
Introducing Tesseract 4 to FileMaker

That brings us to the version 4.11 of Tesseract. We had plans to use the new version and looked for a way to make the transition easy for our plugin users. But since the newer tesseract library exports a C interface, we can load it dynamically at runtime. This way we can give you a OCR.Load function to opt-in to use the newer library. If you don't do an OCR.Load, you would keep the older version and your existing scripts continue to work as before. But once you loaded the newer library, you need the newer data files matching the library version.
macOS with Homebrew
One way for macOS is to use the homebrew project to install the tesseract library with data files on a Mac.So after installing homebrew package manager via Terminal, you would use a command to install the packages like this:
And then you would do two OCR.Load function calls to load the libraries, first the leptonica image library and then the actual OCR library on top:brew install tesseract-lang
If both return OK, you are good to go.MBS( "OCR.Load"; "/opt/homebrew/lib/liblept.5.dylib" ) &
MBS( "OCR.Load"; "/opt/homebrew/lib/libtesseract.4.dylib" )
macOS with our download
Or you go to our website where we have a disk image for you. This is a bit special as we provide you with one dylib for both libraries (leptonica and tesseract) as well as both architectures: Intel and ARM. So you put this dylib somewhere with the files somewhere and then you can load the plugin here:Once loaded, you are ready to go.MBS("OCR.Load"; "/Users/Tesseract/tesseract.dylib")
Linux
On Linux with Ubuntu you can install the tesseract files via Terminal using the apt-get command:This should install all the dependencies and the tesseract package. Once that is done, you can simply load it:sudo apt-get install libtesseract4
Please notice that we don't pass a path since the libraries are installed in the default location for Linux, so the loader will find them automatically.MBS( "OCR.Load"; "liblept.so.5" ) &
MBS( "OCR.Load"; "libtesseract.so.4" )
If both return OK, you are good to go.
Windows
On Windows you may use an installer for tesseract to get the data files and the DLLs into place. We got an installer for you from the University of Mannheim on our Download Libs folder.Once installed you can load it:
As you see we have to first switch the current working directory to the right folder. Then we load first the leptonica library and then the tesseract library. Since the tesseract one depends on the others, we load it first to have the DLL loader find it. But if all three functions returned OK, you a good to go.MBS( "Process.SetCurrentDirectory"; "C:\Program Files\Tesseract-OCR") &
MBS( "OCR.Load"; "liblept-5.dll" ) &
MBS( "OCR.Load"; "libtesseract-4.dll" )
Initialize it
Now the library is loaded, the MBS FileMaker Plugin switches to use Tesseract 4 for all OCR function calls. Next you call OCR.Initialize function to initialize it. Pass the path to the language files, except on Linux or with homebrew, where it may go with the default location instead. When initializes, you can start the other functions. Basically you can just move this all to the start script of your solution or first time you like to use OCR functions. Best may be to check with OCR.IsInitialized function if initialize call is needed.New tricks
Since we got version 4, we added a few new functions: First OCR.SetImageContainer and OCR.SetImageFile allow you to pass image files and containers directly without going through GraphicsMagick.And the newer engine can be initialized for multiple languages, e.g. "eng+deu" for loading both English and Deutsch (German).
To help you with the version change, you can use OCR.Version function to know which one is in use. Or use OCR.IsLoaded function to know whether the new library is loaded.
You can try this with 11.3pr plugin today. Please do not hesitate to contact us with your questions.
