Notarize apps for MacOS

The following steps work for us with the test.app on Desktop. File paths, names, bundle and Apple IDs will be different for you:
- Install Xcode and run it once to get the command line tools installed.
- Build a runtime app in FileMaker Pro Advanced.
- Adapt our SignScript FM 17 (included with MBS Plugin download).
Please change name of certificate, the path and the name of the app. For codesign lines, please add --options runtime as command line parameters after the -f command line parameter. Run the script and watch for the last lines saying accepted and Developer ID. - Next build an disk image. With a GUI app or simply via terminal with right path:
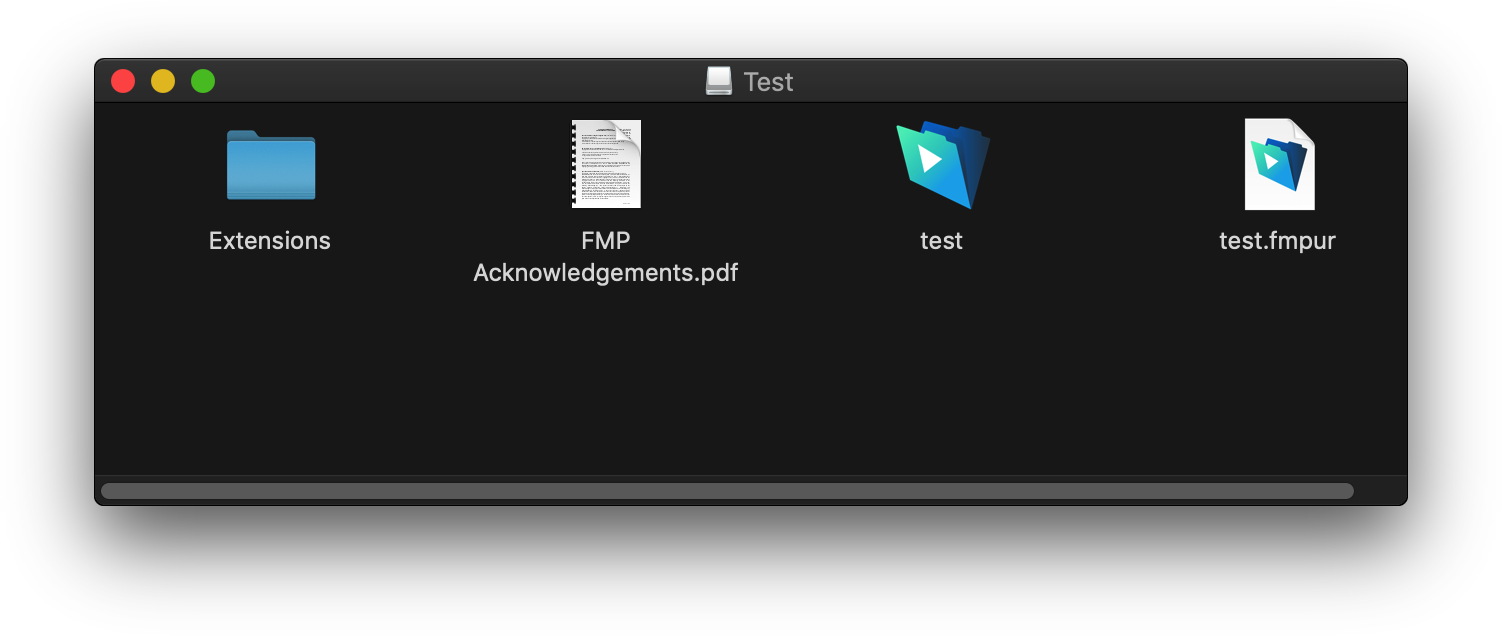
/usr/bin/hdiutil create -imagekey zlib-level=9 -srcfolder /Users/cs/Desktop/Test -fs HFS+ -volname Test /Users/cs/Desktop/Test.dmg - Sign the disk image. e.g. via Terminal:
codesign -f -vvvv -s "Developer ID Application: Christian Schmitz Software GmbH" /Users/cs/Desktop/Test.dmg - Notarize the app. Run xcrun in terminal. The bundle ID is found in the info.plist file of the runtime app inside the bundle. Please pass your own Apple ID here for your Apple developer account:
xcrun altool --notarize-app -f /Users/cs/Desktop/Test.dmg --primary-bundle-id com.filemaker.client.runtime12.test -u Developer@monkeybreadsoftware.de -p @keychain:"Application Loader: Developer@monkeybreadsoftware.de"
This may take a while and return a RequestUUID. - Wait for an email from Apple or periodically check the status of the notarization until it has completed. Please put in again your Apple ID and the request UUID from above.
xcrun altool --notarization-info 193b7ad2-36e1-45d5-880c-c297250f77b2 -u Developer@monkeybreadsoftware.de -p @keychain:"Application Loader: Developer@monkeybreadsoftware.de"
This may take a while till this tool returns success and you can run it several times. Otherwise you get an email when the app is done. Once done you get Package Approved in the call above. If you don't have password in keychain, you can alternatively create an application specific password and put it after the -p parameter as value. - Add the staple ticket to the dmg:
xcrun stapler staple -v /Users/cs/Desktop/Test.dmg
This will add the notarization to the disk image. - Now you can test the final app in the disk image:
spctl -a -v /Applications/test.app
This shows on 10.13.6 only "source=Developer ID", but on 10.14 shows "source=Notarized Developer ID", so it worked!
MBS is available for paid support to help you getting your app notarized if needed.